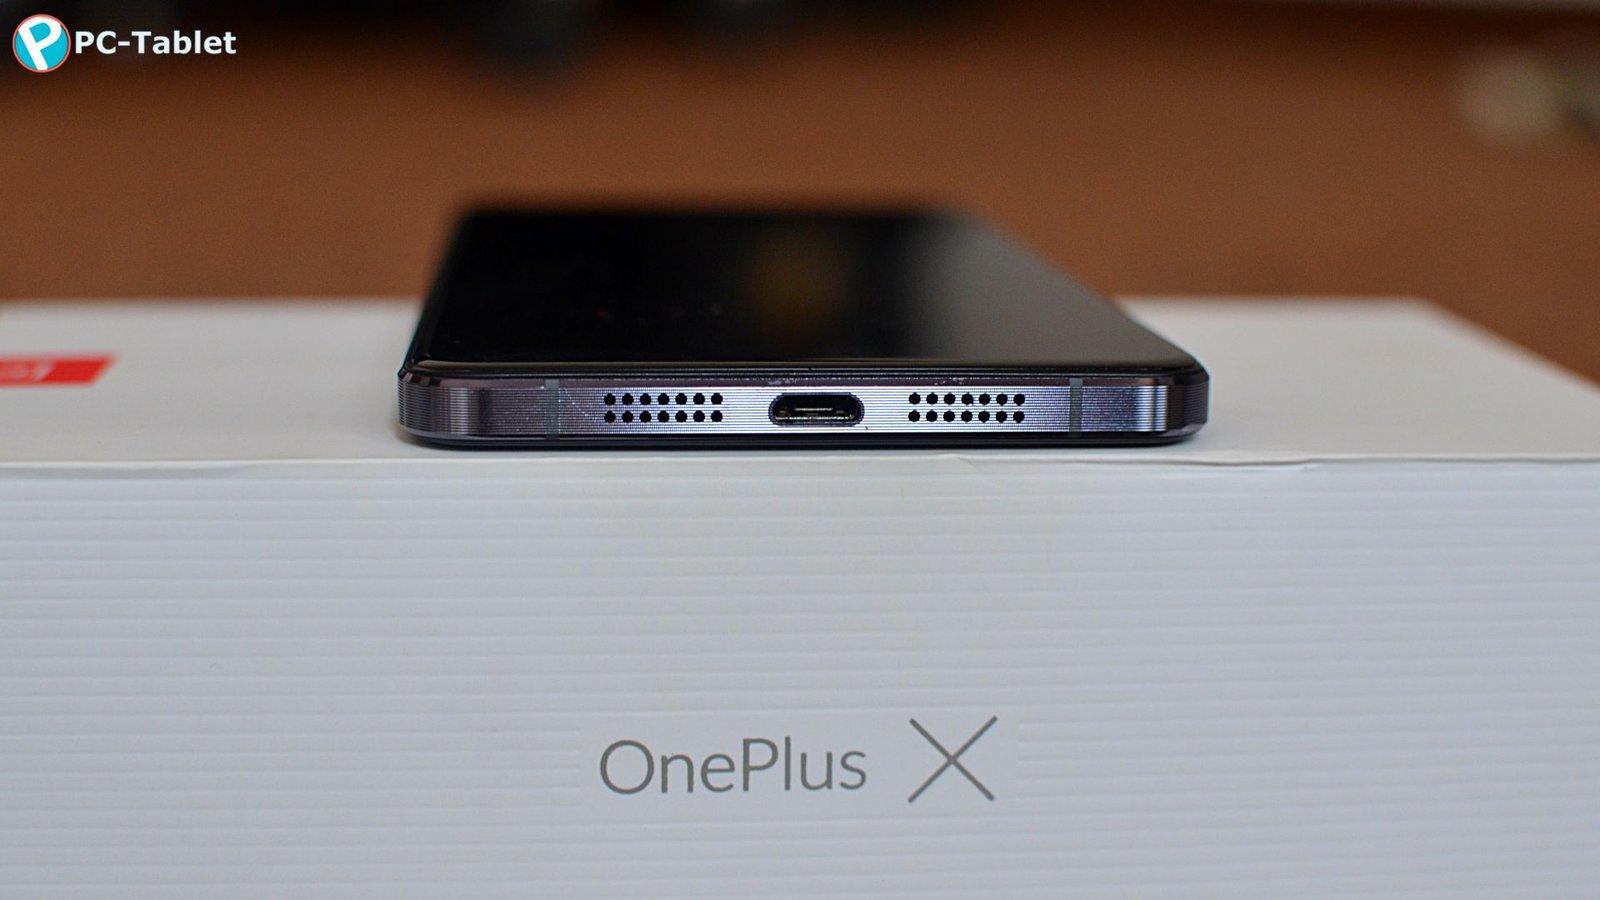
OnePlus X is already receiving Android 6.0 Marshmallow update crammed in Oxygen OS skin. Android 7.0 Nougat has released and OnePlus will make you wait for until next year to get this update. But supporting developers on XDA Developers ported the Android 7.0 Nougat based Cyanogen Mod 14 custom ROM on OnePlus X. Let’s go through the instructions and update you OnePlus X right away to Android 7.0 Nougat.
Prerequisites
- Your phone should have a custom recovery installed. TWRP recovery is the best one out there for installing custom ROM which supports touch input. You need to install the latest TWRP custom recovery on your OnePlus X.
- Backup all your data to a safe place like on your PC to keep them from deleting in the installation process.
- Charge your phone to at least 70 percent before beginning the custom ROM installation process.
Download
- CyanogenMod 14 custom ROM zip, download the latest one from the list.
- The Google apps package is needed to get all the Google related apps including the Google Play Store. Download the one which says “banks_dynamic_gapps-7.x.x-20160921.zip”.
Steps to flash the CyanogenMod 14 custom ROM on OnePlus X
- Connect your OnePlus X to your phone and move the two downloaded zip files on your phone’s internal memory. Keep the zip files in root directory only or finding them while in recovery will be a difficult task.
- Reboot your phone in recovery mode; turn it off and boot it by holding down the Volume down and Power button. Wait for some time, and it will boot to recovery mode.
-
Recovery Mode: Flashing the custom ROM
- Tap the Backup button and swipe to backup the previously installed ROM (custom or stock).
- Come back to the main menu, tap Wipe and swipe to wipe the phone and revert it back to factory settings.
- Tap on Install and select the CyanoegnMod 14 custom ROM zip file and swipe to install the custom ROM.
- Repeat the above step and choose the Google package zip file this time.
- After installation, you have to press the Reboot System button, which will appear with more other buttons.
- The phone will reboot, and you will see a new cool boot animation on your phone which means custom ROM installation is successful.
Conclusion
Soon you will reach a welcome page from where you can start the setup process once again by filling in all your Google account details. The custom ROMs are always pre-rooted, so you don’t need to root your phone again. The installation process is straightforward and easy, but you need to stay with the instruction until you are in recovery mode.


