WD released its best storage device in India – My Cloud EX2 Ultra. It is a NAS (Network Attached Storage) device which creates a private cloud. The device is compact and light (without hard disk drives inserted), and you can purchase it diskless to add your hard drives. WD provides the support for Mac users also, so you don’t need any particular Windows device to set it up. Let’s check out the WD My Cloud EX2 Ultra.
Unboxing:
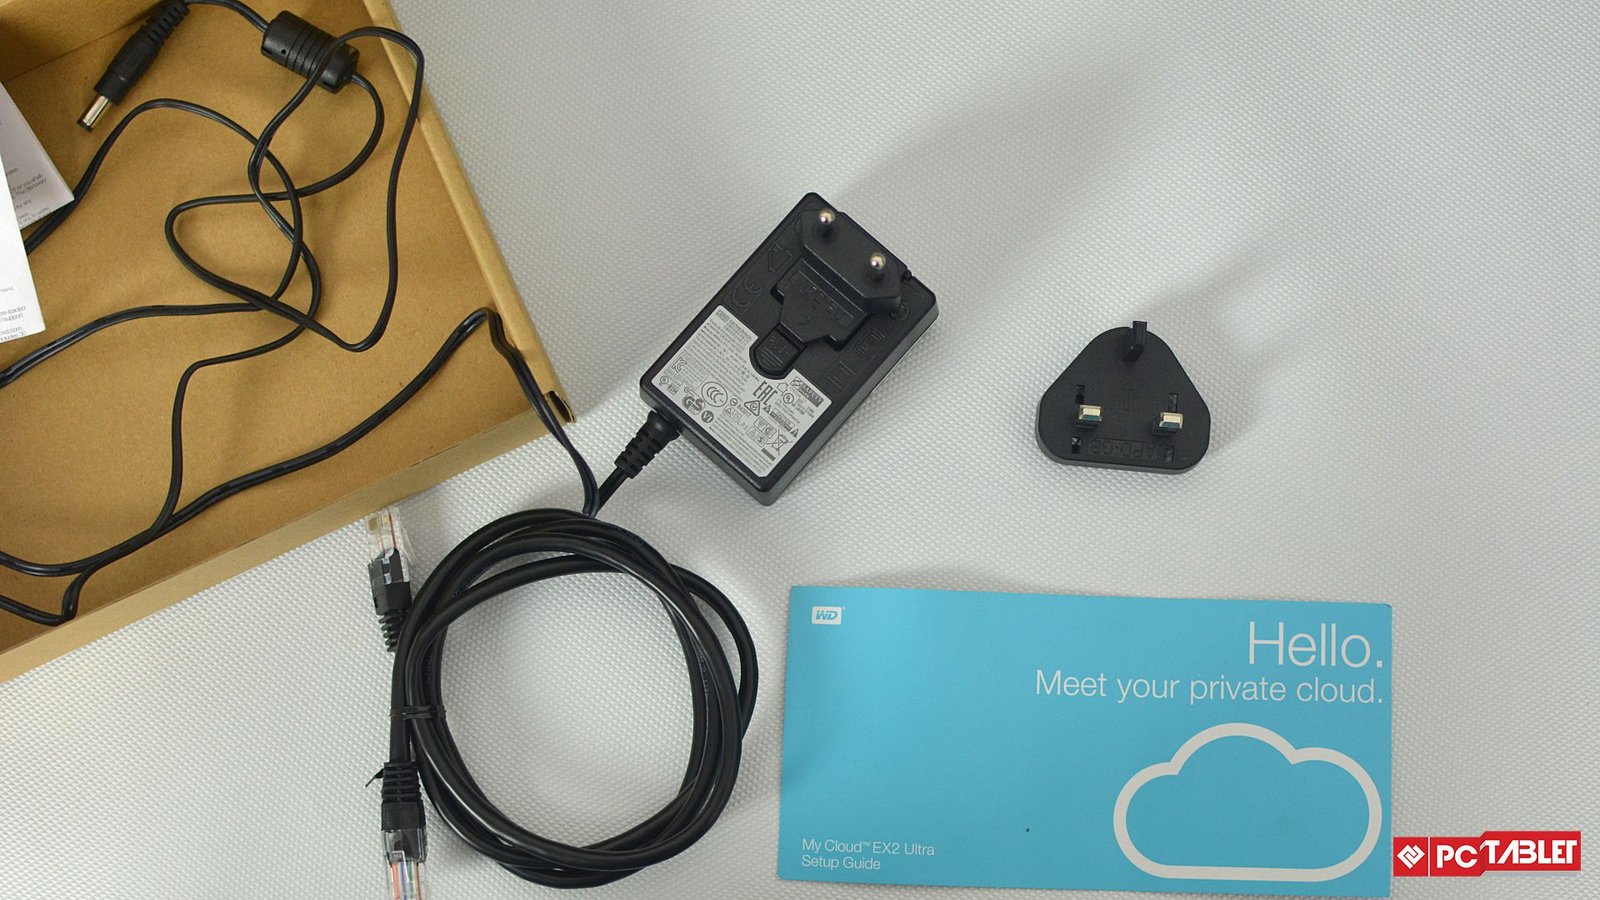
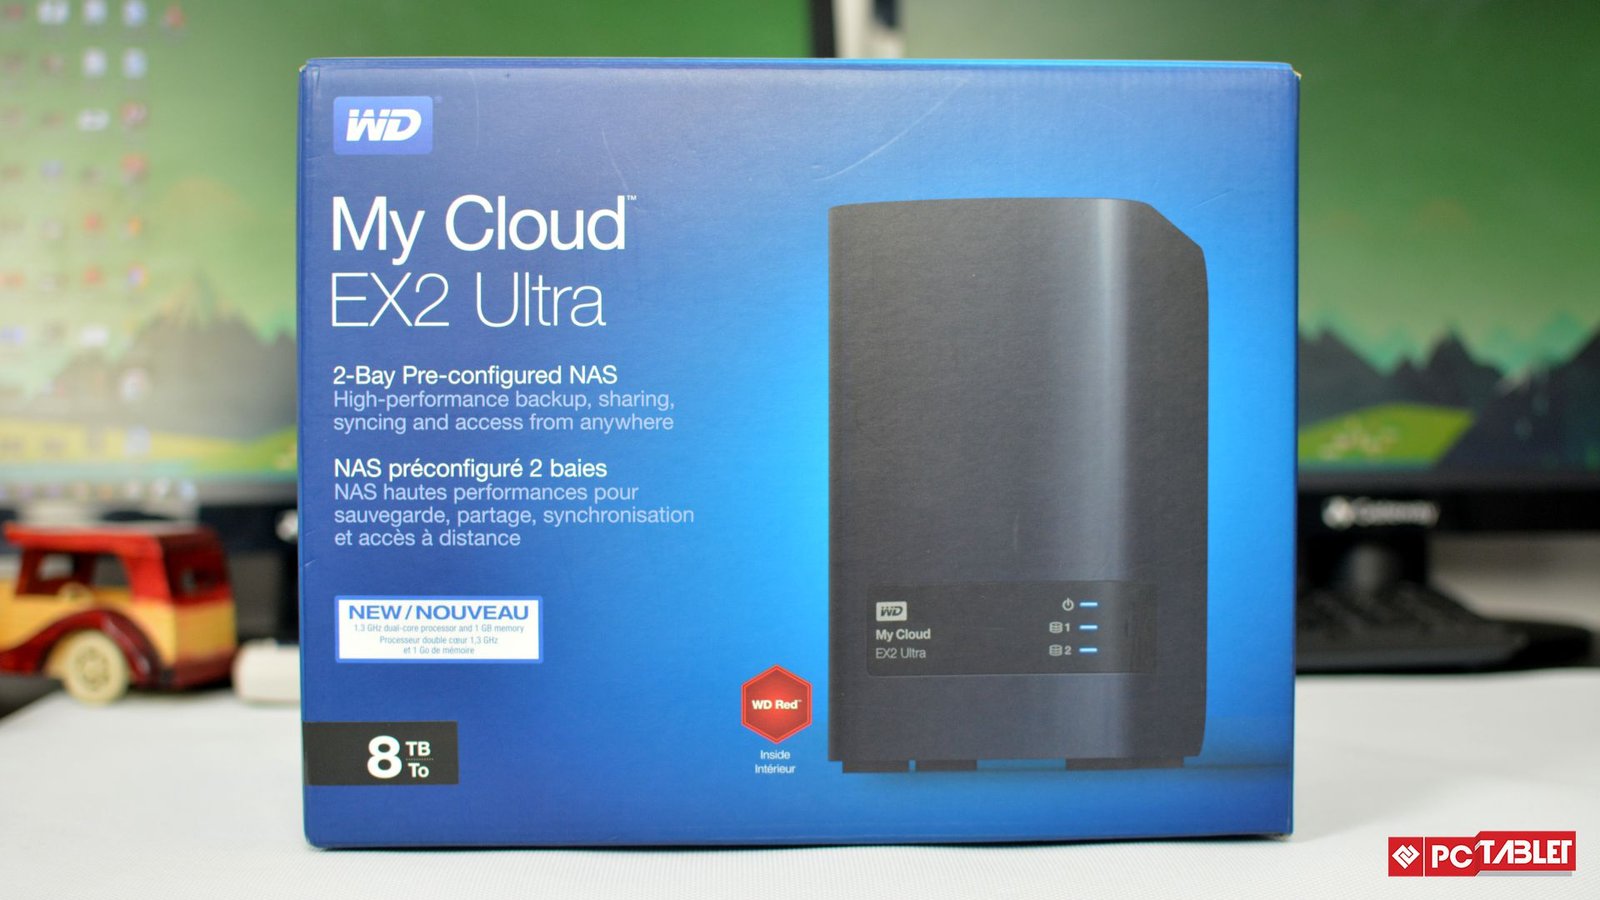
WD packed the device in a big blue box with enough information about the product and a picture of My Cloud EX2 Ultra. Inside the box we got the device itself squeezed between two styrofoam pieces to protect the device from shocks. One power adapter and one ethernet cable are packed in a separate box. Some documents like warranty terms and setup guide are also included.
Design:
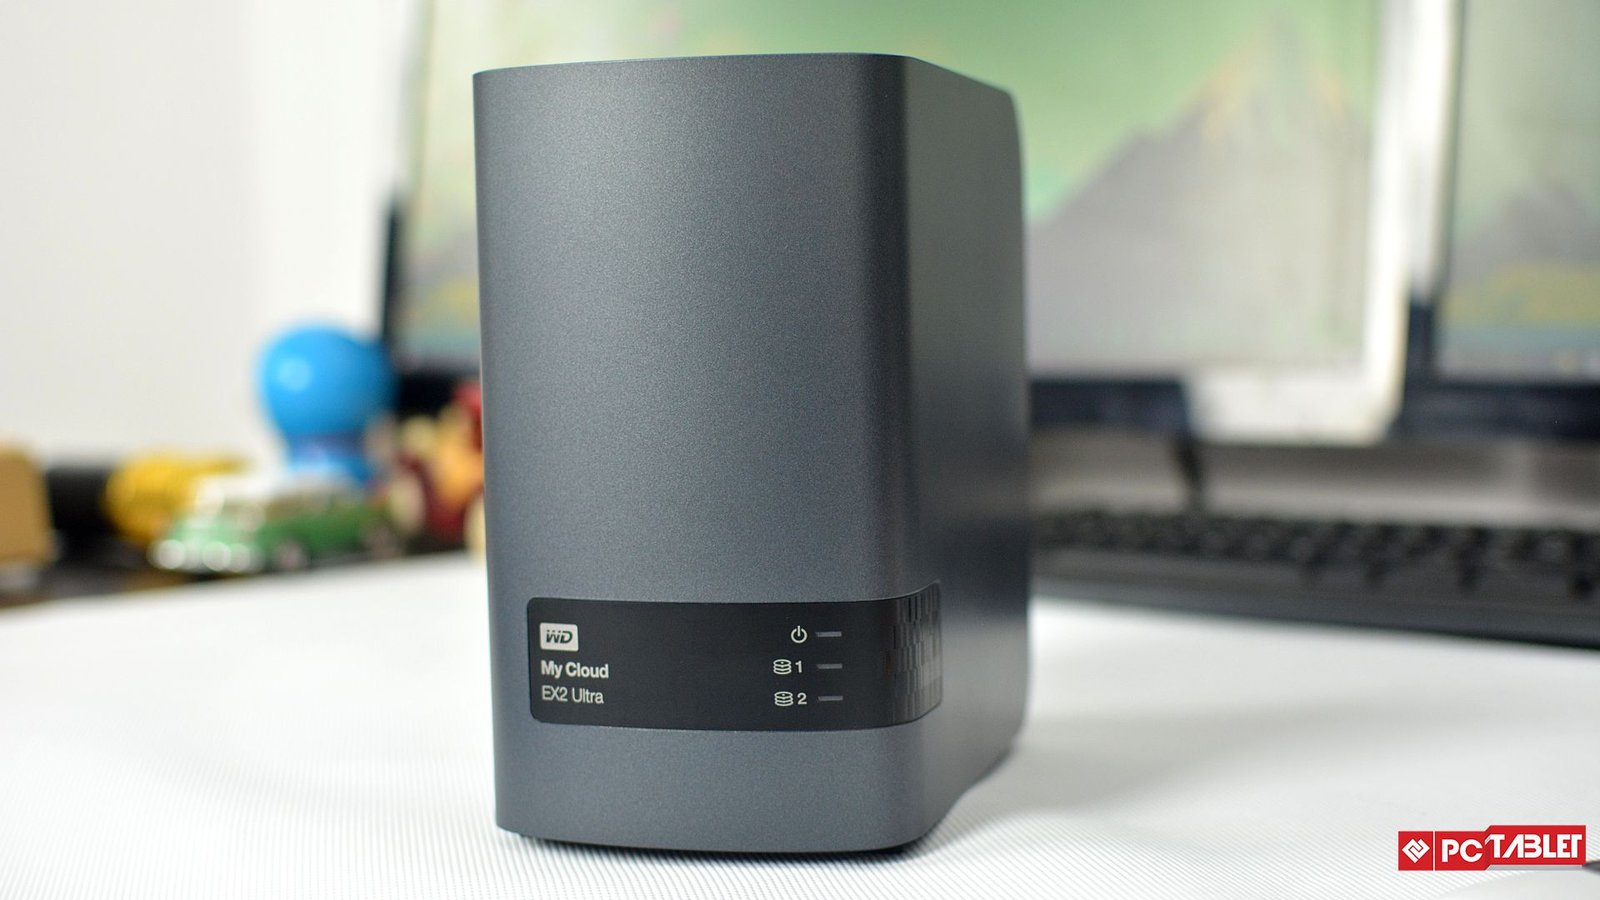
The drive looks like a little CPU with WD branding and three LEDs at the front, one for power and other two to show disk status. At the back side, it has some information and the necessary ports; two USB 3.0 high-speed ports, one Ethernet port, and 12 volts DC power adapter port. It has some ventilations on top and at the bottom with a fan.
It also has four rubber feets to keep it steady on the desk. It looks sturdy in matte black color on front and both sides. The whole device weighs approximately two kilograms (with two 4TB WD Red NAS hard disk drives inserted).
Features:
This WD NAS system is full of features, each and every feature that you can think of; it’s there. The best one is that the device is highly customizable according to storage options. This device comes with 4 TB capacity, 8 TB (4 TB X 2) capacity or no hard drive at all. You can buy the device diskless and insert hard drives with any size needed.
My Cloud comes with some apps pre-installed, and you can install more from the apps tab in the control center. These apps will let you use your My Cloud in various ways; WordPress app to host private websites if you are a website designer. Plex and iTunes app to use your My Cloud as a media server and to back up the precious data, it comes with Dropbox app and compatible with Time Machine recovery app.
If you ran out of slots in My Cloud EX2, then don’t you worry because it comes with two USB 3.0 high-speed ports to expand the storage. You can attach a flash drive or a portable hard disk to share the data to all in the network.
Removing drives:
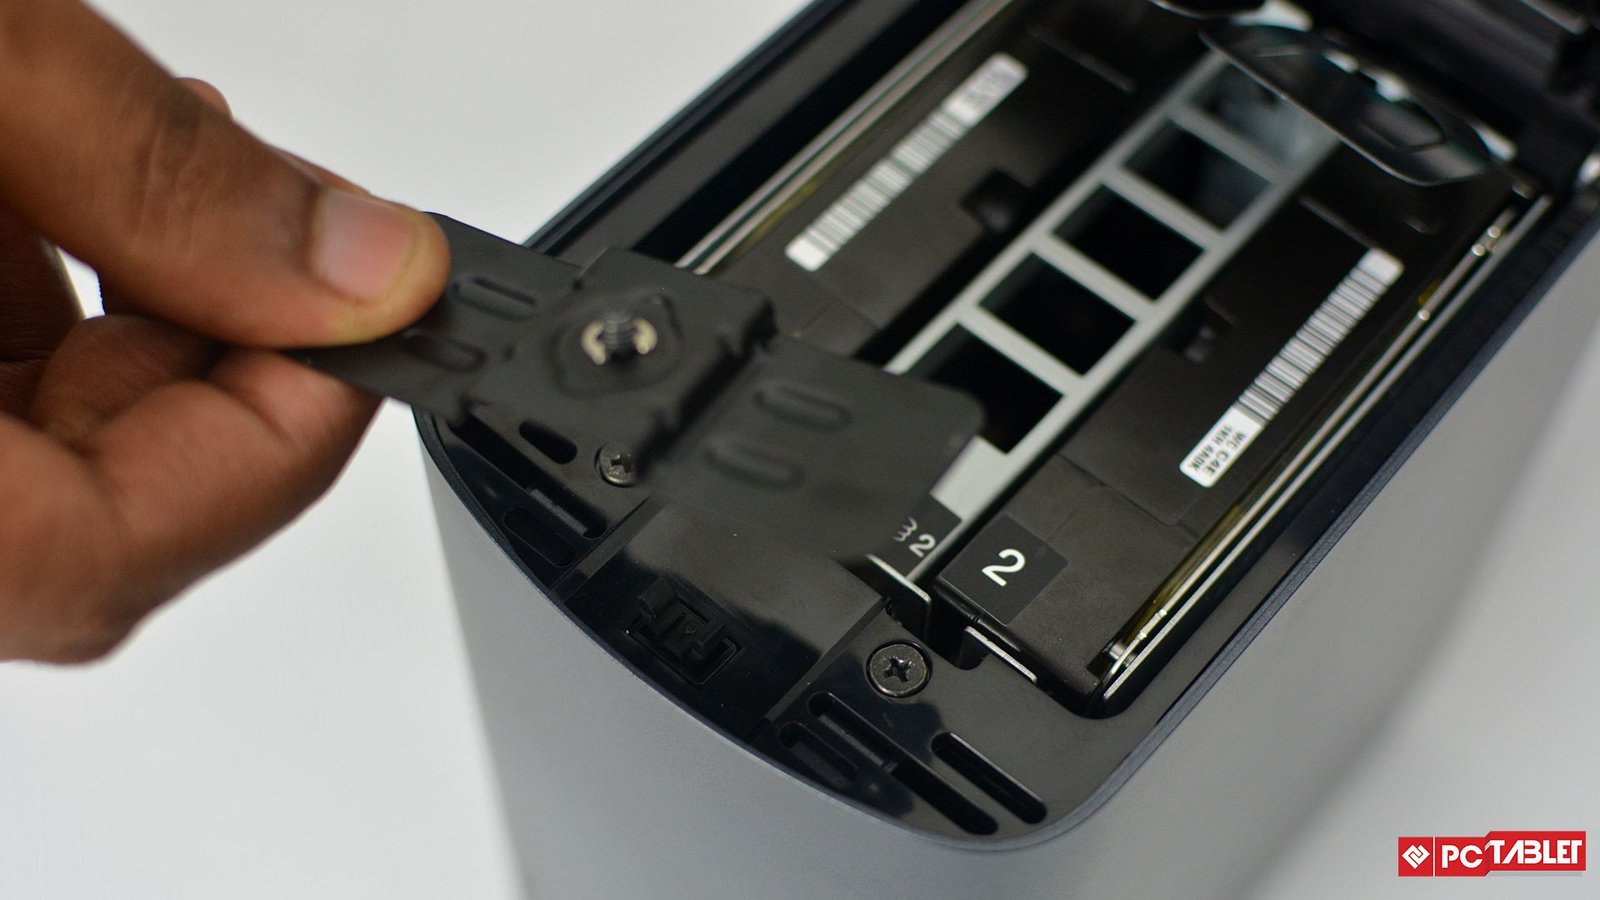
As I said before that the device is highly customizable, you can insert any internal SATA hard disk drives to the two slots provided. It is easy to add new drives or remove a faulty one; you just need to push the press release button on top to lift up the top panel. Remove the metal holder using the screw and pull out the drives using the plastic tags.
To insert one, just gently let the drive down the slots and screw back the metal holder. The drives are labeled so add the drives into the respective slots if you purchased it diskless and inserted your drives then make sure to align the drive properly with the connectors inside the slots.
Working:
WD My Cloud EX2 Ultra is very easy to setup; WD provides a one page manual inside the box to get it working. On hardware part, you just need to turn it on with the power adapter and hook it up to the network using the LAN cable provided within the box. Keep it on a stable platform as it contain the hard disk drive, which is prone to damage from shocks.
Now you need to download the My Cloud Setup (available for both Windows and Mac OS) software to access the cloud and making changes. Launch the setup and click Get Started, accept the terms on the next page and click Next.
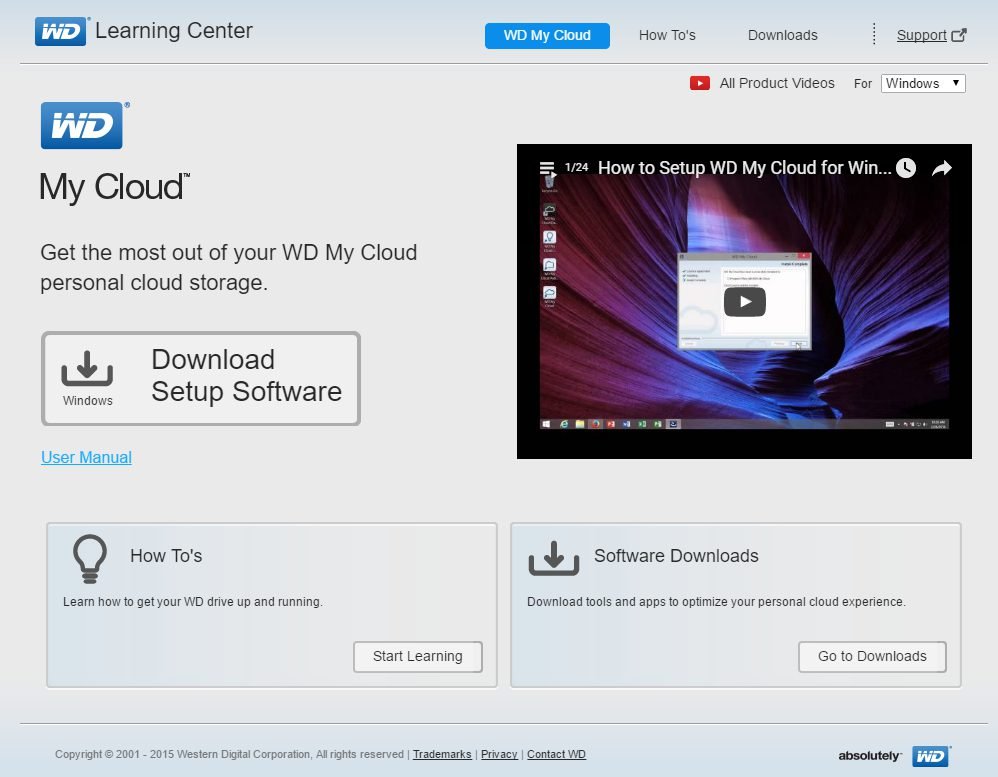
Once the blinking LED on your My Cloud turns steady blue (it could take some time according to the capacity of the hard drive inserted), click Next. The setup will start searching for your device and list it there, click Next again.
Now it will ask you for your name and Email ID to enter. Email ID is optional and only needed if you want to access your My Cloud remotely from outside of your home (or workplace) over the internet. In that case, WD will send you some more information on your mail. Fill in the details and click Next.
It will ask you to add more users who are again optional unless you are setting My Cloud for your workplace. Click Next.
Next page will congratulate you upon setting up your My Cloud and ask you if you need to install the WD My Cloud application on your PC. Click both the check boxes under Also and click Finish.

After clicking Finish, the setup will launch the My Cloud software installation. Select language, accept terms and click Next.
The setup will place some useful shortcuts on your desktop which includes WD My Cloud Dashboard, which takes you straight to the WD control panel in the default browser. Public share which opens up the file explorer to show the contents of the drive and the My Cloud desktop app to access the data on My Cloud drive remotely.
My Cloud OS:
My Cloud OS is the website which is saved inside the My Cloud to control it and change some settings.
The main page shows you the pie chart, which displays the amount of size each type of files is taking up. At the right side, you will see a small picture of the device with the status and the firmware version. Below them, you will see the live graph for live network activity, some devices which are accessing the NAS, shows the number of users added to the device and number of apps installed.
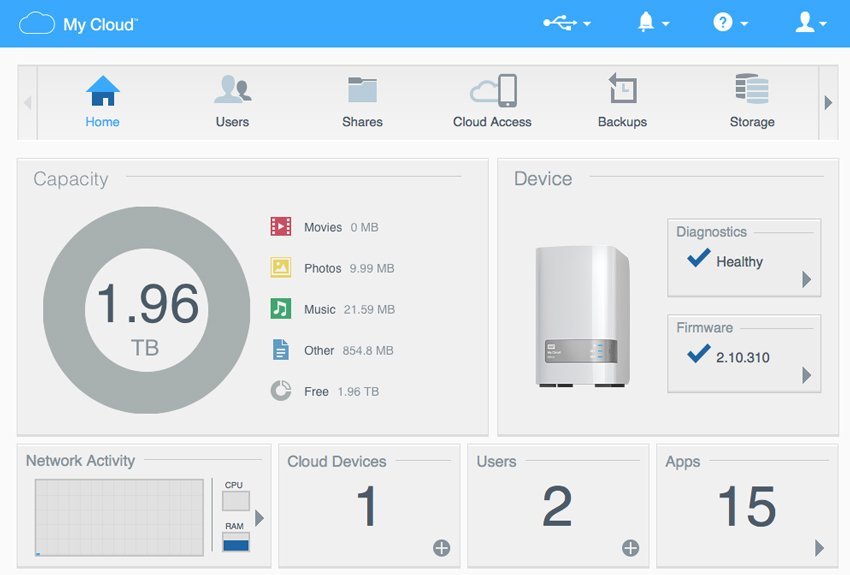
The top bar gives you access to the storage device attached to the My Cloud (if any), shows you notifications, some help links and user menu (hibernate, reboot or logout). The tab bar had some tabs with icons; home, users, shares, cloud access, backups, storage
- Home page displays the general information about the device.
In Users tab, you can add or remove users to access the cloud. You can also create groups and add categorize users to them. - Share tab shows the share of the storage for different tasks; you can add one too.
- Cloud Access tab give you can see the users who have access to the cloud remotely, clicking on any user will show you more information and settings for that user.
- Backups will show you different type of backup system which you can set up for your WD My Cloud.
- Storage tab comes with various storage options like RAID, disk status, ISCSI and volume information.
- Apps tab contains the applications settings which are already installed on it and allow you to install official and third party applications on your device as well.
- Settings tab lets you customize your WD My Cloud like device name, clock, network, media, utilities, notifications and firmware upgrade.
My Cloud OS is the best control panel for people who don’t know much about networking or NAS. Anyone can monitor the device with ease. Also, the pre-settings out of the box are enough for regular usage of this device.
Specifications:
| CPU | Marvell ARMADA 385 1.3 GHz dual-core |
| RAM | 1 GB DDr3 |
| Drive Bays | 2 X 3.5 Inch Hard drive bays |
| Expansion ports | 2 X USB 3.0 Ports |
| Supported OS | Windows / MacOS |
| In Box | WD My Cloud, Ethernet cable, Power adapter |
Pros:
- Compact size
- Storage expansion ports
- Easy setup
Cons:
- Not any I come across
Verdict:
This device is the best for pro users like a coder, website designer, editor or developer. WD My Cloud EX2 Ultra is the best device for a workplace with a need of sharing data with everyone. The price is high for a NAS device but if you want to keep your data safe then the amount is not big enough. WD My Cloud EX2 Ultra 4 TB will cost you Rs. 35,499 and if you want just the device without any disk installed then it will cost you Rs. 17,499.

