Panicking because you dropped your phone into the sink, toilet or pool? Or perhaps you forgot to take your phone out of that jeans pocket you just put in the washing machine? Or you got drenched in the rain? But if you are fast and lucky enough, you might be able to save your mobile phone from getting damaged.
Here are some tips and simple steps that you should follow to save your best buddy, your smartphone. Follow this step-by-step guide on How To Repair Water Damage Phone.
How To Repair Water Damage Phone in Ten Easy Steps
Step 1: Firstly, take the phone out of the water as soon as possible. Stop giving it a long baffled stare while it is in water still. Power off the phone (if it hasn’t already been) and keep it in an upright position. Even if your phone is working, don’t avoid these steps as the phone must have been waterlogged. So drying it out properly is necessary.
Step 2: After taking the phone out of the water, remove the back cover and take out the battery. Though, this won’t be possible with handsets with a non-removable battery.
Step 3: Remove other attachments like microSD and SIM cards from their respective slots. Keep them aside and let the slots air dry until they are to be inserted into the phone again.
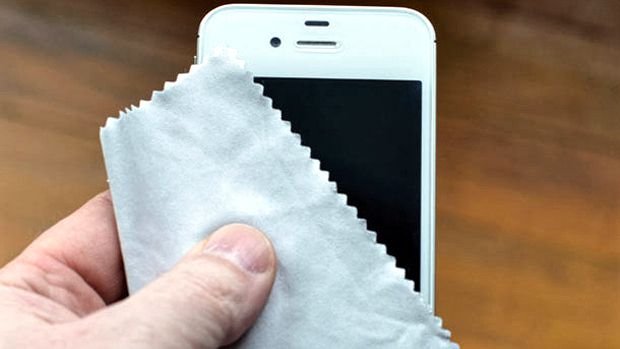
Step 4: With the help of a soft rag or paper towel, dry off the contents of the phone. Keep wiping it gently to remove as much water as possible.

Avoid shaking or moving the phone excessively as it could spread the liquid around and push it into more of the phone’s opening.
Step 5: In case the water damage is more extensive, use a vacuum cleaner (if it is available) holding it over to each accessible area and taking care not to hold it too close to the phone.
This is the quick method and can dry out the phone by sucking out water that was earlier harder to get at.
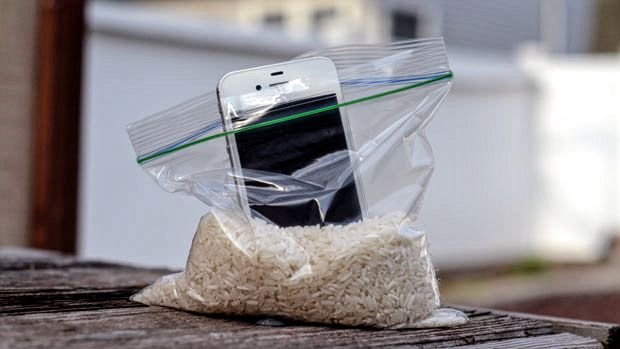
Step 6: Take a container and fill it to the top with uncooked rice. Put the phone and battery in the rice container for as long as possible (minimum one day). Rice is a great liquid absorbent, and it might take out the reaming moisture and help in repairing water damaged phone.

It may be a good idea to mask the area, where there are gaps, to avoid letting the rice get into it. You could use a tape or add a bit of cotton to block the grains.
Step 7: This is an alternative for the above step. Desiccants are also good at absorbing moistures. You can seal the phone in a ziplock bag or an airtight plastic container and slip the desiccant packet in it.
Step 8: After a couple of days take the phone out. Check all the ports for any moisture or dirt. Wipe away the rice dust off and put the battery and phone cover. Then turn the phone on.
Step 9: Check if the phone functions properly. Try playing music to check the speakers and test out touch responsiveness.
Step 10: If the phone doesn’t turn on, try charging it without the battery. If this works, then your battery is damaged, and you’ll need a new one.
It’s also possible that the phone gets damaged beyond repair. In that case, you have to take it to a respective service center or a repair shop and get it checked.
To avoid this kind of mishap in future, try to avoid taking your phone to places where it may get water damaged. Else, you can also purchase waterproof phone cases that are available in plenty in the markets, to save your phone from getting water damaged.


